The Pros and Cons of Building Your Own Drawer Dividers
If you own a workshop and provided a service to customers, you need easy access to your tools and accessories. Knowing how to make drawer dividers can be really useful for ensuring you are organised and don’t lose time or money.
Drawer dividers enable you to avoid losing tools or accessories – and you can easily see when accessories need topping up. Moreover, if your tools are all jumbled in the same drawer, you risk cutting yourself rummaging around or reaching for a tool at the bottom of the pile.
An organised workshop also makes you appear more professional and trustworthy to customers. However, making drawer dividers is not as simple as it seems.
If you want to know how to make drawer dividers properly, this article could help. For individuals that are good at DIY, you shouldn’t have any problems.
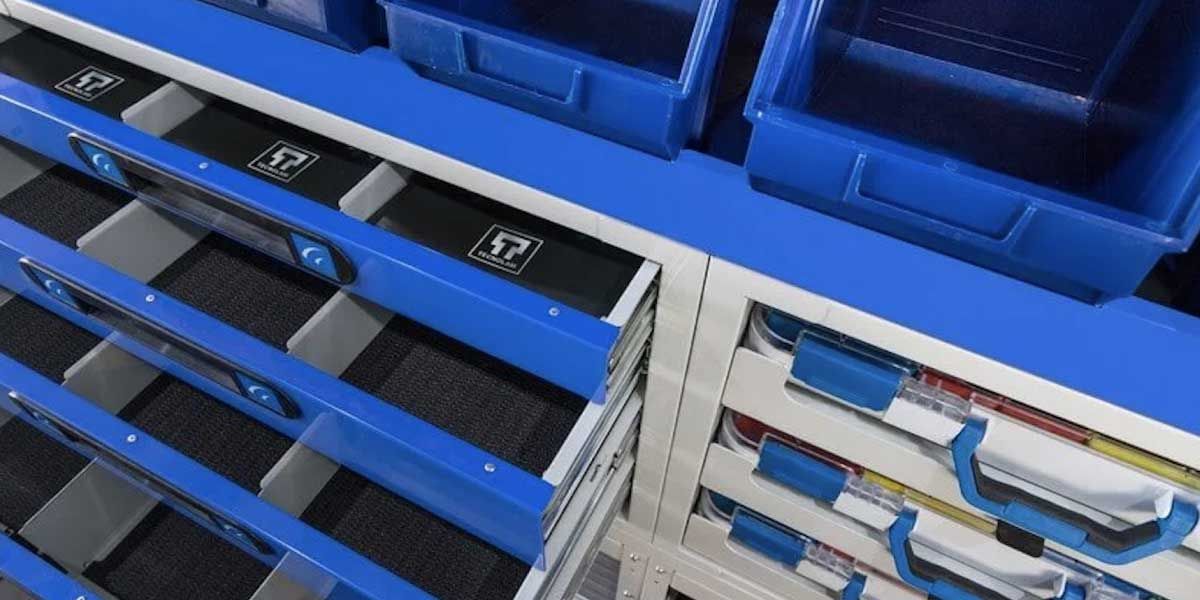
If you’re pressed for time or don’t know how to make drawer dividers, Tecnolam provides an alternative solution. Drawer dividers are also useful for integrating into a van shelving system.
Table of Contents
How To Make Drawer Dividers
- Measure
The first step to making drawer dividers is to determine what you want to store in each drawer. You then need to measure the dimensions of the drawer and the contents you intend to store. This makes certain the items will fit snugly and ensures you are using drawer space efficiently.
- Draw
Once you have recorded the measurements, create a top-view diagram so you can work out how to best utilise the space available. A drawing also informs you how you can arrange the drawer so play around with the design to determine which you prefer. A drawing also shows you how many dividers you will need.
- Cut
The next step is to cut the dividers down to size. We recommend making the divider ⅛-inch shorter and ⅛-inch lower than the lip of the drawer. This enables you to slot the dividers in easily and ensure the drawer closes smoothly.
The best way to make drawer dividers is to cut them with a circular saw or table saw. You can use a hand saw if you don’t have access to machinery. You then need to take a utility knife and mark the drawer at the points the dividers will be positioned. Also, part drill holes where you want the screws to go.
- Assemble
Once the dividers are cut to size, you can start attaching them to the drawer. Position the dividers in the drawer to make sure they all fit and the arrangement is suitable for your needs. Check your tools fit.
Then remove all the dividers and start fastening them piece by piece. Attach slats to the edges of the drawers and drive the screws into the pre-drilled holes in your dividers. Place the screws in the slats.
The Disadvantages of Making Your Own Drawer Dividers
Whilst custom-built drawer dividers are a useful addition to your workshop, knowing how to make drawer dividers by yourself is not the best solution for everyone.
Perhaps you don’t have the time or maybe you don’t have access to the right tools. If you’re not a DIY enthusiast, you may not have the right skills to make drawer dividers.
If you fit into any of the above categories, Tecnolam can help. Our specialist technicians typically recommend professionals include drawer dividers in a storage system. When needed we will also add dividers in van false floor drawers.
Needless to say, we have many years of experience in building drawer dividers and creating custom-made storage systems for a wide range of busy professionals.
