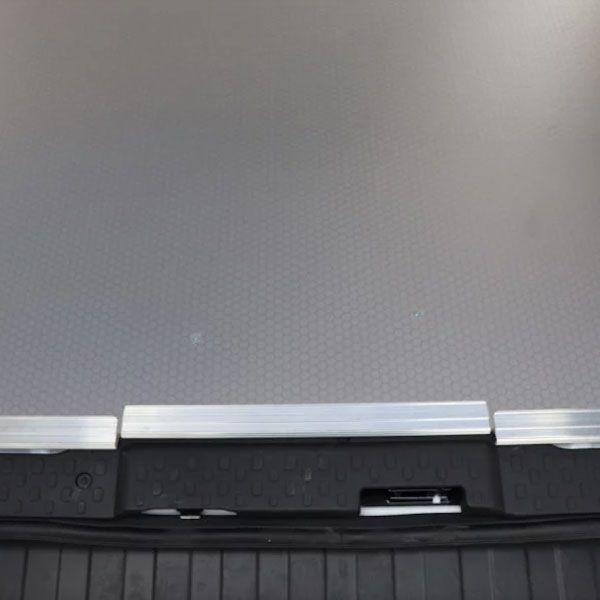
How To Insulate a Van Floor and Why? Complete Guide
In this guide, we’ll walk you through the steps to insulate a van floor, ensuring that you have a well-insulated and durable surface to work on.
If you’re a professional looking to enhance your mobile workspace, investing in a well-equipped van with proper van racking and shelving systems is essential. A properly insulated van floor is crucial for maintaining a comfortable and efficient workspace.
Table of Contents
Why Insulate a Van Floor For Your Business?
Before we dive into the insulation process, it’s essential to understand why insulating your van floor is so important. Proper insulation provides the following benefits:
- Temperature Regulation: Insulate a van floor helps maintain a comfortable working environment by preventing extreme temperature fluctuations inside the van.
- Sound Dampening: Insulation reduces road noise and vibrations, creating a quieter workspace, which can lead to increased productivity.
- Protects Equipment: A well-insulated floor protects your tools and equipment from potential damage caused by moisture and road vibrations.
- Energy Efficiency: Insulation helps retain heat in colder months and keeps the van cooler during hot summer days, which can lead to lower fuel consumption.
How to Insulate a Van Floor Step by Step
Now that we understand the importance of van floor insulation, let’s proceed with the step-by-step guide.
Choosing the Right Insulation Material
The first step in insulating your van floor is selecting the appropriate insulation material. There are several options available, such as foam boards, mineral wool, and spray foam.
Consider factors like thermal efficiency, moisture resistance, and thickness when making your choice. Click here for a wide selection of van flooring options.
Preparing the Van Floor
Before installing the insulation, make sure the van floor is clean and free from any debris or rust. Remove any existing flooring and thoroughly clean the surface.
Measuring and Cutting the Insulation
Measure the dimensions of your van floor accurately and cut the insulation material accordingly. It’s essential to ensure a precise fit to maximize the insulation’s effectiveness.
Installing the Van Insulation
Place the cut insulation pieces on the van floor, covering the entire surface. Make sure there are no gaps or overlaps. Depending on the type of insulation, you may need to use adhesive to secure it in place.
Adding a Vapor Barrier
To prevent condensation and moisture buildup, add a vapor barrier over the insulation. This barrier will help maintain the insulation’s integrity over time.
Installing the Flooring
After the insulation and vapor barrier are in place, it’s time to install the van flooring. Tecnolam UK offers a wide range of van racking options that complement your insulated floor. Their van racking solutions are both modular and customizable, allowing you to create the perfect workspace for your specific needs.
Regular Maintenance
Once your van floor is insulated and ready for use, it’s essential to maintain it regularly. Check for any signs of wear or damage, and address any issues promptly to ensure the longevity of your insulated floor.
Insulating your van floor is not just a wise investment, but a crucial step in enhancing the overall functionality and comfort of your mobile workspace. As a professional on the go, your van serves as your command center, and having a well-insulated floor can significantly impact your work efficiency and productivity.
By following this step-by-step guide, you’ll be able to transform your van into a comfortable and efficient workspace. The benefits of proper insulation extend beyond merely regulating temperature and reducing noise; it also ensures the longevity and protection of your valuable tools and equipment.
Remember, for top-notch van racking and shelving systems, Tecnolam UK is your go-to source, offering high-quality solutions tailored to your needs.
